21 Jul Pinch Pleat Drapes: Step-by-Step DIY Guide
Are you looking to add a touch of elegance to your home with pinch pleat drapes? These classic curtain styles can transform any room by offering a sophisticated, tailored look. In this guide, we’ll walk you through the process of making pinch pleat drapes, ensuring you achieve that perfect pleated finish.
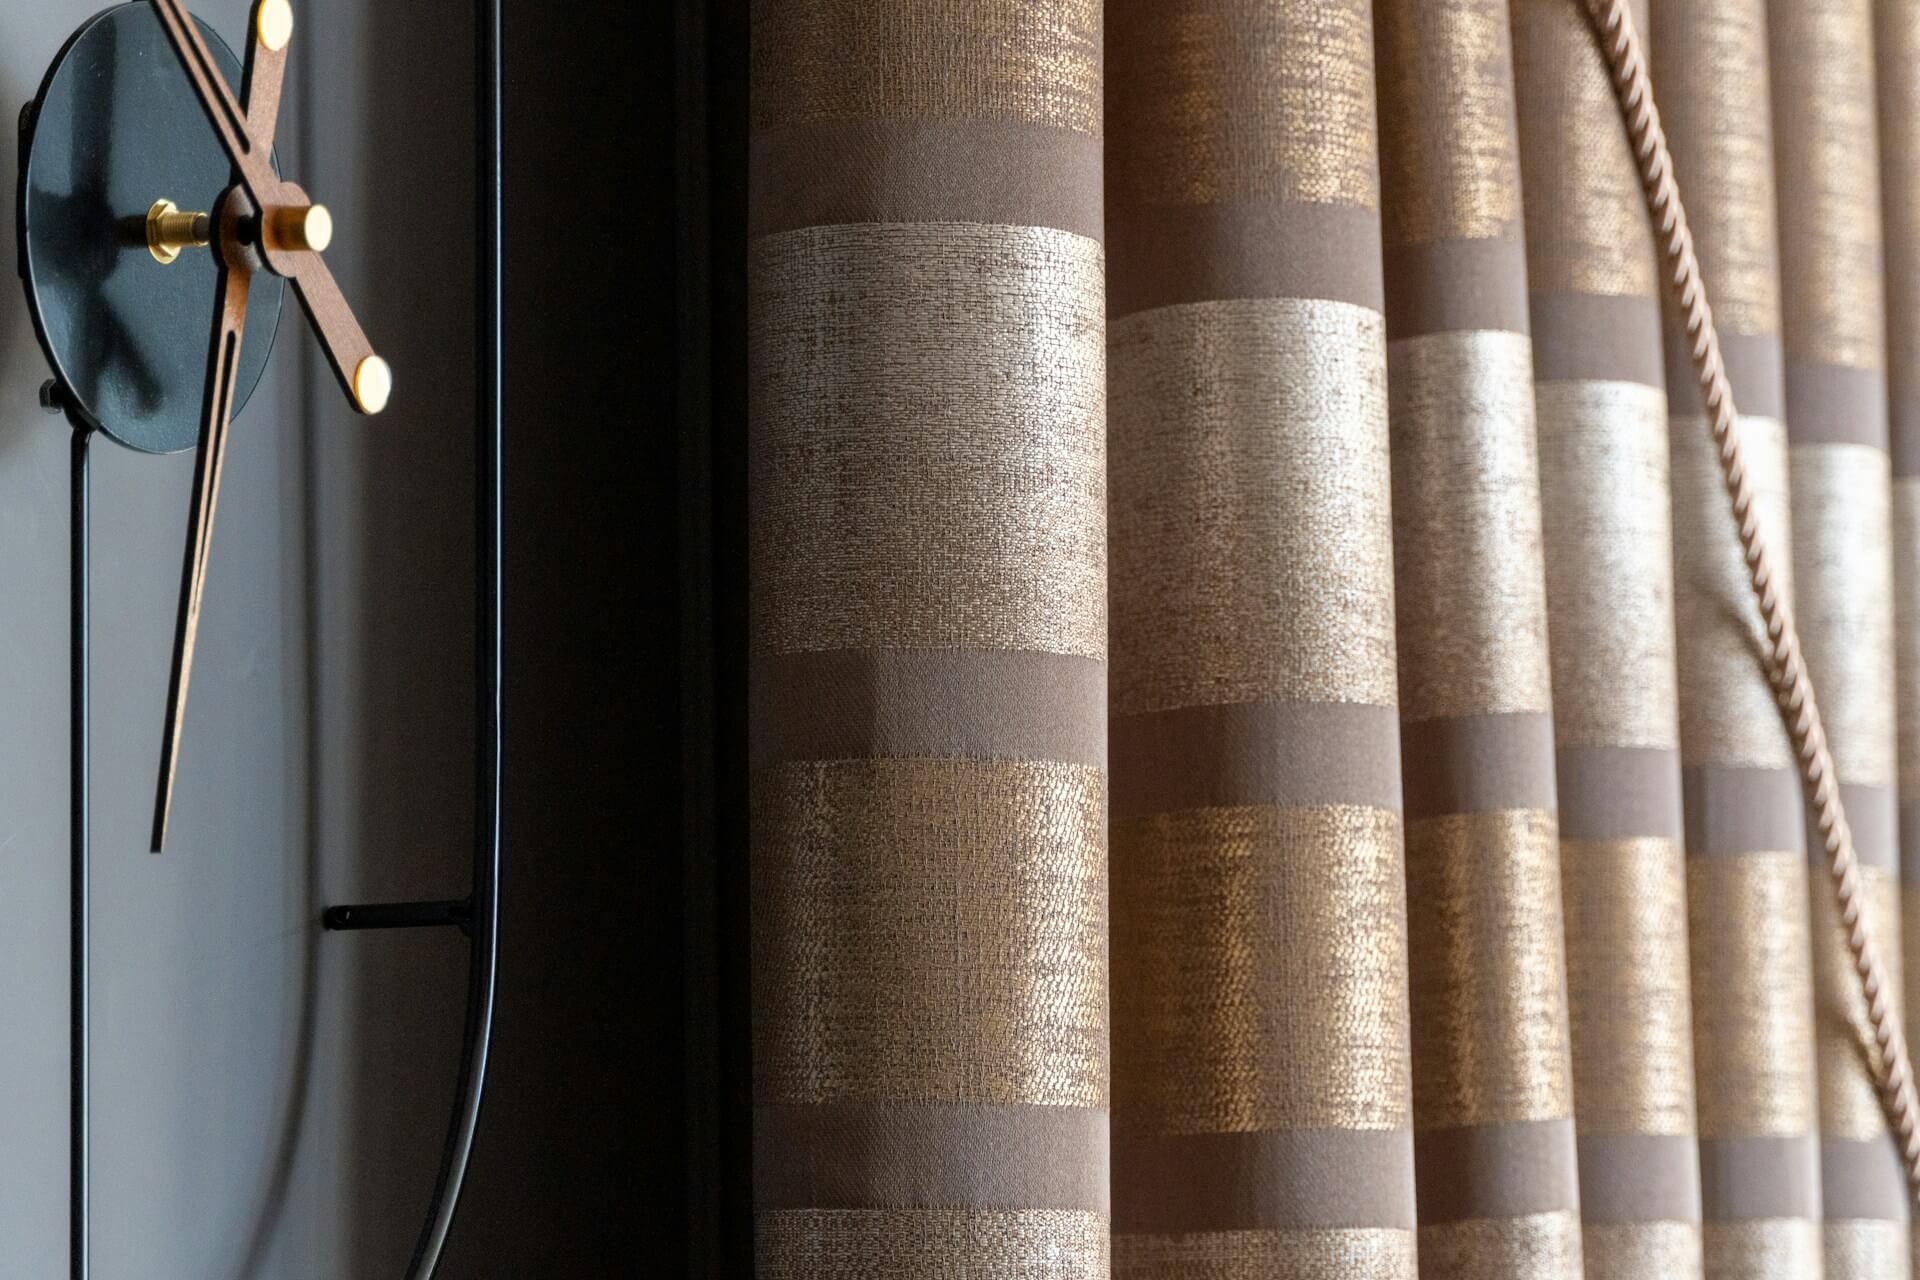
Pinch pleat drapes are known for their uniform, gathered pleats that are pinched at the top. This creates a fuller, more structured look compared to other types of curtains. They are versatile and can be used in various settings, from formal dining rooms to cozy bedrooms.
Pinch pleat drapes bring a timeless elegance that complements both modern and traditional interiors. Their structured pleats add a sense of formality and sophistication, making them ideal for spaces where you want to impress guests. The vertical lines created by the pleats also help in making rooms appear taller, adding to the aesthetic charm.
Beyond their visual appeal, pinch pleat drapes are highly functional. They offer superior control over light and privacy, allowing you to adjust them as needed to suit the time of day or your mood. This makes them not only a decorative choice but also a practical one for everyday living.
The beauty of pinch pleat drapes lies in their versatility. They can be tailored to fit windows of all sizes and styles, making them a suitable choice for any room in your home. Whether you prefer a dramatic floor-to-ceiling look or a more understated window treatment, these drapes can be customized to meet your needs.
Before you start making your pinch pleat drapes, gather the necessary materials. Here’s what you’ll need:
- Fabric: Choose a fabric that complements your room’s decor. Consider the weight and texture of the fabric, as it will affect the drape.
- Lining (optional): Lining adds weight and enhances the drape’s appearance.
- Pinch Pleat Tape: This tape helps create uniform pleats.
- Hooks and Rings: Essential for hanging your drapes.
- Sewing Machine and Thread: Basic sewing supplies.
- Measuring Tape and Scissors: For precise measurements and cutting.
Selecting the appropriate fabric is crucial for achieving the desired look and functionality of your drapes. Heavier fabrics like velvet or brocade create a luxurious, opulent feel, perfect for formal settings. Lighter materials such as cotton or linen offer a breezier vibe, suitable for casual or modern spaces. Remember that the fabric’s weight will influence how the pleats hang and maintain their shape.
While optional, lining your drapes can significantly enhance their appearance and durability. Lining provides an extra layer that not only helps in blocking out light more effectively but also adds weight, ensuring the pleats hang neatly. Additionally, lining protects the fabric from fading due to sunlight exposure, extending the life of your drapes.
Having the right tools on hand will make the sewing process smoother and more efficient. Ensure your sewing machine is in good working condition and that you have matching thread to your fabric. A quality measuring tape is essential for accuracy, while sharp scissors ensure clean cuts. Investing in good-quality pinch pleat tape and hooks will also contribute to the overall finish of your drapes.
To determine how much fabric you’ll need, measure the width and height of your window. Multiply the width by 2 or 2.5 for fullness, depending on how gathered you want the pleats. Add extra for hems and headers.
Begin by taking precise measurements of your windows to ensure your drapes will fit perfectly. Measure the width of the window, including any frame or molding, and decide how far you want the drapes to extend on each side for a fuller look. For the height, measure from where the rod will be placed to the desired length, whether it’s just below the sill, at floor level, or pooling on the ground.
The fullness of your drapes is a key factor in their overall appearance. For a more opulent look, consider multiplying the width by 2.5 times; for a simpler, less gathered effect, a multiple of 2 may suffice. This calculation ensures that when the pleats are formed, the drapes will have the desired fullness and not appear sparse or overly dense.
Don’t forget to add extra fabric for hems and headers, which contribute to the professional finish of your drapes. Typically, you’ll need an additional 10-12 inches in length for these elements. Hems give the bottom edge a neat, finished look, while headers at the top accommodate the pleating tape and hooks, ensuring the drapes hang correctly.
Start by cutting your fabric panels according to your measurements. Remember to add an additional 10-12 inches to the length for hems and headers. If you’re using lining, cut it to the same size.
Accurate cutting is vital to ensure your drapes hang evenly. Lay the fabric on a large, flat surface and use a fabric marker or chalk to outline your measurements. Use sharp scissors or a rotary cutter for clean, straight edges. Double-check your measurements before cutting to avoid mistakes that could compromise the finished product.
If using a lining, align it with your main fabric before cutting. This ensures both layers are identical, simplifying the sewing process. The lining should be cut to match the dimensions of the fabric, maintaining the same allowances for hems and headers. Proper alignment is crucial for a clean, professional appearance.
- Hem the Sides: Fold the edges of the fabric over twice (about 1 inch each time) and sew a straight stitch along the folds.
- Attach the Lining: Lay the lining on the wrong side of the fabric and sew them together along the top edge.
Creating smooth, even hems is essential for a polished finish. Start by folding the fabric edges over by one inch, then fold again, pinning in place to secure. Use a straight stitch along the folded edge to hem. This double-fold technique conceals raw edges, preventing fraying and adding weight to help the drapes hang well.
Attaching the lining properly is key to ensuring your drapes hang correctly. Place the lining on the wrong side of the main fabric, aligning the top edges. Pin in place and sew a straight seam along the top, ensuring the lining is securely attached and won’t sag or shift over time.
- Position the Tape: Place the pinch pleat tape along the top edge of your fabric panel on the wrong side.
- Sew the Tape: Secure the tape by sewing along the top and bottom edges.
Proper placement of the pinch pleat tape is crucial for uniform pleats. Lay the tape flat on the fabric, ensuring it is straight and aligned with the top edge. Pin it in place to prevent shifting while sewing, and double-check its position before proceeding to the next step.
Sewing the tape securely ensures the pleats form correctly and hold their shape. Use a straight stitch to sew along both the top and bottom edges of the tape, ensuring it is firmly attached. This step is vital for the overall structure and appearance of your drapes.
- Insert Hooks: Insert hooks into the pockets of the pinch pleat tape. Space them evenly to ensure uniform pleats.
- Pinching the Pleats: Use your fingers to pinch the fabric together where the hooks are placed, creating pleats. Secure the pleats by sewing a few stitches at the base.
Hooks play a crucial role in forming and maintaining the pleats. Insert them into the designated pockets on the pleat tape, ensuring they are evenly spaced. This even spacing is essential for creating symmetrical pleats that enhance the drape’s aesthetic.
Creating the perfect pinch requires precision and attention to detail. Use your fingers to gather the fabric at each hook, forming neat pleats. Secure the base of each pleat with a few stitches to maintain their shape, ensuring they hang beautifully once the drapes are installed.
- Attach Rings: Slide curtain rings onto a curtain rod.
- Hook the Drapes: Attach the hooks on the pinch pleat tape to the rings.
- Adjust and Style: Once hung, adjust the pleats by hand to ensure they hang evenly.
Choosing the appropriate rod and rings is essential for the overall presentation of your drapes. Opt for a sturdy rod that can support the weight of your drapes, and select rings that complement your hardware and decor style. Ensure the rings are compatible with the hooks used in your pinch pleat tape.
Begin by sliding the rings onto your curtain rod, spacing them evenly. Attach the hooks from your drapes to the rings, ensuring each pleat is supported. This step is crucial for achieving a balanced, symmetrical look. Once hung, step back and assess the drapes from a distance to make any necessary adjustments.
- Iron Your Drapes: Before hanging, iron the pleats for a crisp finish.
- Adjust Pleats: After hanging, adjust the pleats to ensure they fall evenly.
Ironing your drapes before hanging is a critical step for achieving a professional finish. Use a steam iron to gently press the pleats, ensuring they are crisp and well-defined. This not only enhances the drapes’ appearance but also helps them hang neatly and maintain their shape over time.
Once your drapes are hung, take the time to fine-tune the pleats by hand. Gently adjust each pleat to ensure they are evenly spaced and falling correctly. This attention to detail can make a significant difference in the overall look and impact of your drapes.
- Trim and Tassels: Add trims or tassels for a personalized touch.
- Color Coordination: Use contrasting colors for a bold statement or matching tones for a subtle look.
Enhance your drapes with decorative trims or tassels to add a unique, personal touch. Choose embellishments that complement your room’s decor, such as elegant tassels for a luxurious feel or playful pom-pom trims for a more whimsical look. These additions can transform your drapes into a true statement piece.
Color plays a crucial role in the overall impact of your drapes. Consider using contrasting colors for a bold, eye-catching effect that draws attention to your windows. Alternatively, opt for matching tones to create a cohesive, harmonious look that blends seamlessly with your room’s palette.
- Living Room: Use heavier fabrics for a formal look.
- Bedroom: Choose light, airy fabrics for a relaxed atmosphere.
In the living room, drapes often serve as a focal point. Opt for heavier fabrics like velvet or silk to create an opulent, formal atmosphere. These materials not only add elegance but also provide excellent light control, perfect for creating a cozy ambiance during evening gatherings.
For the bedroom, lighter, airy fabrics such as cotton or linen are ideal. These materials allow natural light to filter through softly, creating a serene, calming environment. Consider pastel colors or muted tones to enhance the room’s tranquil atmosphere, promoting rest and relaxation.
Regular maintenance will keep your drapes looking their best:
- Dust Regularly: Use a vacuum with a soft brush attachment.
- Machine Wash or Dry Clean: Follow fabric care instructions for cleaning.
Regular dusting is essential for maintaining the appearance and longevity of your drapes. Use a vacuum with a soft brush attachment to gently remove dust and debris. This simple step can prevent dirt buildup and keep your drapes looking fresh between deeper cleanings.
Adhering to the fabric care instructions is crucial for preserving your drapes. Some materials may be machine washable, while others require dry cleaning. Follow the recommended care guidelines to prevent damage and ensure your drapes remain in excellent condition for years to come.
Creating pinch pleat drapes is a rewarding project that can enhance the beauty of any room. With careful planning and attention to detail, you can craft drapes that not only fit your windows perfectly but also reflect your personal style. Whether you’re a seasoned DIY enthusiast or a beginner, these steps will help you achieve a professional-looking result.
Now that you know how to make pinch pleat drapes, it’s time to gather your materials and start creating. Enjoy the process, and soon enough, you’ll have beautiful, custom drapes adorning your windows. Let your creativity flow, and take pride in the transformation you’ve brought to your home.