16 May How to Install Grommets in Curtains | Easy DIY Guide
Grommet curtains are a popular choice for many homeowners. They offer a modern look and smooth operation, making them a stylish and practical window treatment.
But what if you want to customize your curtains? Or perhaps you’re looking to refresh an old pair?
Drapery grommet installation is a DIY project that can transform your window treatments. Determining how much fabric is needed for the project is crucial, as it ensures you account for hems and the portion of fabric that hangs above the curtain rod. It’s a process that requires precision, the right tools, and a bit of patience.
This guide will walk you through the steps of installing grommets in your curtains. From measuring and marking your fabric, to attaching the grommets and hanging your curtains, we’ve got you covered.
Whether you’re a seasoned DIY enthusiast or a beginner, this guide will provide you with the knowledge and tips you need.
So, let’s dive in and learn how to install drapery grommets.
Understanding Grommet Curtains and Their Benefits
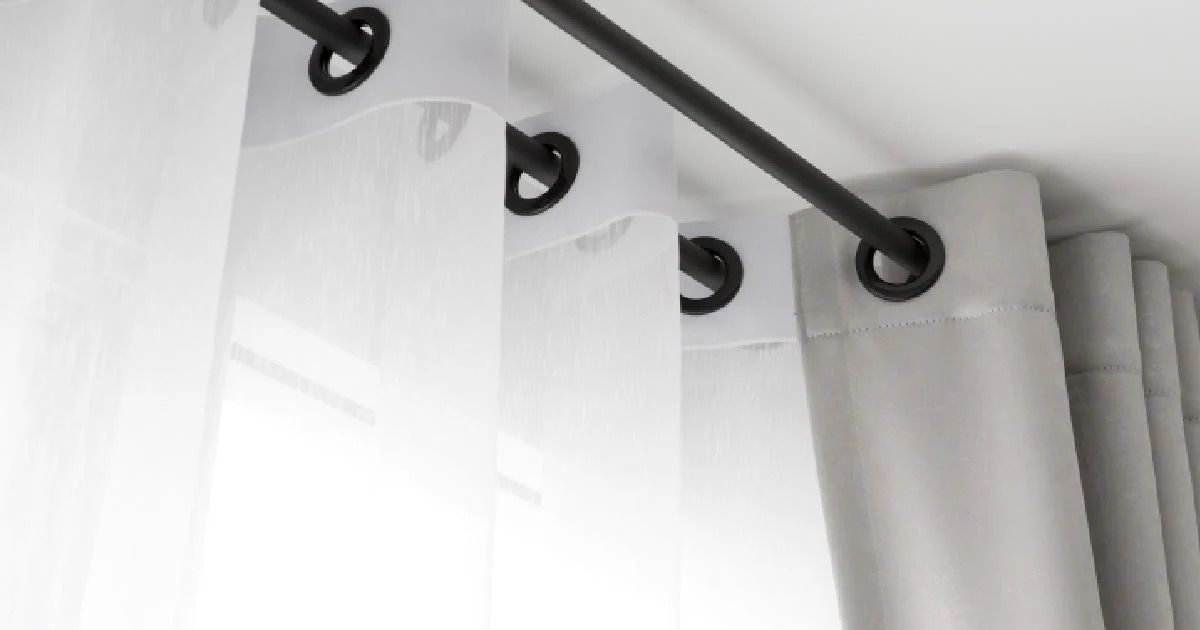
Grommet curtains are a modern solution in home decor. They slide effortlessly along curtain rods, offering ease of use. The design involves metal rings, known as grommets, inserted along the top edge of the curtain.
These curtains bring a sleek, minimalist appeal, complementing various decor styles. Grommet curtains also allow for even pleats, enhancing the aesthetic of your windows. Their simplicity in design makes them ideal for both contemporary and traditional spaces.
Whether you aim for style or functionality, these curtains offer the best of both worlds. Different types of grommets are best suited for various fabric projects; for instance, spur grommets are not well-suited for curtain use, while other grommet options are more fitting for such applications.
Tools and Materials You’ll Need
Before beginning your project, gather essential tools and materials. These items ensure a smooth grommet installation.
You’ll need a few basic tools for this task. Essential tools include fabric scissors and a tape measure. These help in precise cutting and measuring.
Next, prepare specific materials for the grommet installation. A quality grommet kit is necessary, as it provides the hardware and instructions.
The list of tools and materials includes:
- Grommet kit
- Fabric marker
- Measuring tape
- Scissors
- Straight edge or ruler
Additionally, have spare fabric for testing. This helps you get comfortable with the installation process before working on your actual curtains. Gather everything in advance to save time and ensure efficiency.
Measuring and Planning for Grommet Placement
Accurate measuring is crucial for a seamless finish. Start by measuring the width of your curtain panel. This helps in determining the number of grommets required.
Once you have your measurements, decide on the spacing between grommets.
Even spacing ensures a balanced look. Typically, grommets are spaced 4 to 6 inches apart.
Next, mark the placement for each grommet. Use a fabric marker for visible, temporary markings. Begin from the top edge of the fabric panel.
For precise grommet placement, consider these steps:
- Measure the panel width.
- Decide on grommet spacing.
- Mark the fabric with a marker.
- Use a straight edge for level marks.
Always verify your measurements twice. Corrections are more difficult after cutting. After marking, step back and visually inspect the layout.
Proper planning prevents mistakes and enhances the curtain’s visual appeal. Accounting for fabric length and grommet placement is crucial to ensure the curtains hang evenly and achieve the desired look. Your careful preparation will pay off when you see the finished product.
Cutting Holes and Preparing the Fabric
Cutting holes accurately is essential for neat grommet installation. Begin by laying the curtain fabric on a smooth surface. Ensure it’s flat and free of wrinkles.
Using your marked placements, cut small holes for the grommets. It’s important to keep these cuts neat. Accurately cutting out circles ensures the grommets fit correctly and gives a polished final product. A sharp pair of scissors works best for this task.
Take your time while cutting. The precision of these cuts affects the final look. Avoid cutting larger holes than needed.
After cutting, inspect the fabric edges. Frayed edges can harm the durability. Consider using a fray check solution to secure the edges.
By preparing the fabric properly, you ensure the grommets fit snugly. A clean cut is vital for a professional finish. Your attention to detail now will make a big difference later.
Attaching the Grommets to Your Curtains
Now comes the exciting part—attaching the grommets. Start with one hole and fit the grommet through. Ensure the wider side is on the front.
Press the washer into place on the back side. Insert the back piece through the eyelet circle before securing the top section. It will hold the grommet securely. Ensure both parts click together.
Use a grommet press or tool for a secure fit. This step ensures the grommet won’t dislodge. Apply even pressure for the best result.
If you’re using a manual tool, align it carefully. Misalignment can lead to ineffective fastening. The grommet should be flat and snug.
Repeat this process for all holes.
Consistency is key; each grommet should look and function the same. An evenly installed set offers a polished look.
Check each grommet once finished. Ensure they sit flush against the fabric. This attention to detail gives your curtains a professional finish.
Ensuring Even Spacing and Alignment
Even spacing is crucial for a neat appearance. Double-check your measurements before beginning the grommet installation.
Measure the distance between each grommet again. Make adjustments if anything seems off. Accuracy here ensures symmetry.
Using a template can aid in keeping consistent gaps. It is also important to use an even number of grommets to maintain proper spacing and functionality. This tool helps maintain alignment along the curtain’s top edge.
Stand back and assess the overall look. A keen eye can spot slight misalignments. Small adjustments can enhance the final presentation.
Finishing Touches and Hanging Your Grommet Curtains
With the grommets in place, it’s time to focus on the final details. Gently shake the curtains to remove any loose threads.
Inspect each grommet to confirm they are tightly secured. This prevents any problems during hanging and use.
Slide the curtain rod through the grommets. Ensure the curtains hang from the curtain rod at the desired length by accounting for fabric length and grommet placement.
Ensure that the curtain glides smoothly along the rod for easy operation.
Once the curtains are hung, arrange the folds for a smooth drape. Take a step back and admire your handiwork.
Troubleshooting Common Grommet Installation Issues
If your grommets appear misaligned, recheck your measurements. Ensure consistent spacing along the curtain’s top edge.
For frayed fabric, consider using fabric glue. This can help seal the edges and maintain a clean look. If a grommet feels loose, double-check the installation process. Ensuring each piece is pressed firmly together can enhance security. Properly folding and pressing seams is crucial to achieve a professional-looking finish, ensuring that the fabric is aligned correctly and has clean edges.
Caring for Your Grommet Curtains
To maintain your grommet curtains, regularly dust them. Use a soft brush or vacuum with an attachment for best results.
For deeper cleaning, check the fabric care instructions. Many curtains are machine washable, but always use a gentle cycle to protect the fabric and grommets. It is crucial to follow care instructions specific to the curtain material to ensure longevity and maintain their appearance.
Expert Tips for a Professional Look
For a polished finish, ensure each grommet is tightly secured. This prevents any shifting or loosening over time.
Choose high-quality grommets that match your room’s decor for an elegant touch. Be sure to select the right size of grommets for your project, as sizes vary and can impact the overall look and functionality. This adds a subtle but impactful detail to your window treatments.
Conclusion: Enjoying Your New Window Treatments
You’ve completed your drapery grommet installation, adding both style and functionality to your curtains. This simple upgrade can enhance the room’s ambiance significantly.
Admire how the grommet curtains smoothly glide, offering ease of use and modern aesthetic appeal. You’ve transformed your living space with this hands-on project. Making your own curtains allows for unique and personalized designs, catering to specific room features and achieving the desired length without the hassle of searching for pre-made options.